
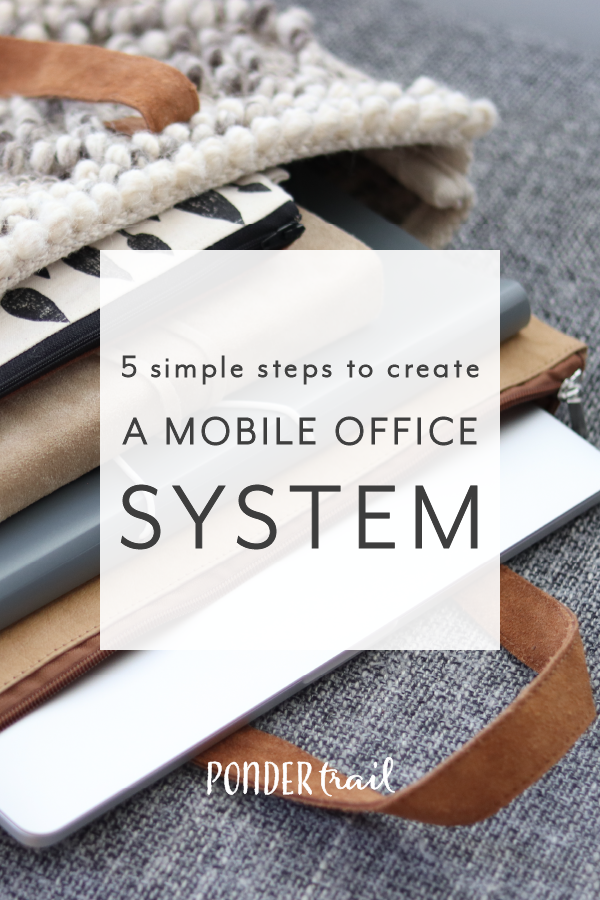
5 Simple Steps to Create a Mobile Office Kit
We’re all spending more hours working in our houses these days.
But it isn’t always possible to dedicate a space in your home for your business. Sometimes a work area looks like a the kitchen counter, coffee table, or couch, and with a little creativity, your home probably has a few great places to hunker down and get work done.
The goal of any workspace is to be a productive setting to get work done. And when we’re hustling hard or working on a project, it’s usually best practice to create some sort of setup to help your work sessions be efficient.
But when you don’t have an office or a desk, you might not want to leave your stuff set up round the clock.
The key is finding the right balance. You want your workspace to be quick to set up and easy to tear down. Otherwise, the process takes time away from your day and creates a hundred extra steps between you and getting to work.
What’s the solution? You need a mobile office system.
This summer, I came up with a simple way to pack up my office to work productively from anywhere.
My friend and fellow creative, Caitlynn, requested this blog post, so I made it a little extra special by including lots of images. In fact, I did a photoshoot so I could show you exactly what I use. I hope you enjoy the tutorial!
P.S. We’re focusing on Effective Planning this month inside the brand strategy Treehouse. Join today for weekly videos, guides, workbooks, action steps, and monthly photos, templates, captions, and more. Grow your creative business with step-by-step content and tools exclusive to the membership.
Why create a mobile office system?
Sometimes it’s just nice to have the flexibility to take your work with you for the day. Or you might like to move around the house throughout the day to keep your scenery fresh.
Even if you have a dedicated corner in your house for your business tasks, it’s helpful to have a system for packing up your stuff to travel or get out for a few hours.

While I do have a dedicated office and desk for my computer, I often enjoy writing blog posts from the couch on my laptop. Other days days, it’s nice to pack up my essentials to work at a coffee shop at an outdoor table.
I like being able to up-and-go to bring it all with me without a hassle.

A mobile office system should be efficient and effective.
It’s the perfect solution if you…
don’t have space for a designated desk
don’t want to leave work stuff out all the time
want to have your essentials ready to pack and go
want the flexibility to make your work station mobile
want to optimize minimalism and avoid clutter
It should…
be quick to set up
be easy to cary
have everything you need
be comfortable and productive
So keep those tips in mind while you work through the steps.

1 // Brainstorm a list of what you’ll need.
First, think about what items you typically use during a productive work session.
You might have a lot of computer tasks you perform or digital work on your phone.
Maybe it looks like emails, phone calls, or lots of communication-related tasks. Or maybe you have a lot of writing, such as blogging or other content creation.
It might vary from time to time depending on your current projects and launches, too.

My tasks change depending on the day. Sometimes I’m bulk-writing blog posts, designing graphics in Illustrator, or planning out social media posts.
During client design weeks, I focus solely on my project. These weeks include client strategy meetings, sketching, brand design work, and website-building.
So figure out what tasks you’ll be performing, and write down all of the physical items and tools they require.
Then, think about any less-used essentials that you still might need. Examples include passwords, contact information, flash drives, and so on. There’s nothing worse than sitting down to work only realize that you can’t be productive without that one other thing.

2 // Pair down to the essentials.
The key to an efficient work system is to have minimal stuff. To create a mobile office that’s easy to whip out, you want to stick to the essentials. It will save you time, space, and it won’t be too heavy to tote around with you.
Try not to go overboard with the “just in case” items.
Only include a full make-up kit, 3 water bottles, a webcam, and your external photo storage drive if you actually plan on using them. Even if you “might” need them in one scenario, think about the extra items you can likely leave behind.

Don’t bring too many extras.
Instead of a pencil box with 27 different writing utensils, pack only the necessities. Consider bringing along 1 or 2 pens or pencils. Think about the wires for your electronics, duplicate flash drives, and multiple notebooks. Pair down to one of each.
Be realistic about what tasks you’ll tackle in during your work session.
Don’t include a week’s work of tools, wires, and books, and gear in your setup if you’ll only have time to write your newsletter content. You only need the things that relate to your tasks for the day. So be intentional about what you can get done, and build your mobile office accordingly.

3 // Picture your ideal setup.
What type of workspace will be most productive for you? Do you need to sit at a table or desk at home? Or is your comfy couch a better option? Will you be working from your car? A small cafe table? What about sprawled out on a rug?
Will you work session be spread across different locations? For example, will you start your day working on your freshly made bed, switch to your favorite coffee shop after lunch, and then finish off on a picnic blanket outside to enjoy the sunset?
If you leave the house, your kit will probably require a few more items. For instance, a coffee thermos, your wallet, charging wires, lunchbox, snacks, etc. When you’re home you might just use or store nearby since you can just grab them when you need them.

When you are working from home, you can add a few extra touches, too. For instance, think about comfort. Sometimes that looks like a cozy blanket on the sofa. Other times, it looks like your favorite pillow and a chair at the dining room table.

You could also consider setting up a diffuser nearby to benefit from some essential oils and increase concentration.
To turn those extras into more mobile-friendly options to add to your kit, you could create a DIY essential oil spray to you take with you. And you could wear an oversized scarf for a little touch of cozy. It could even double as a blanket, too.
Get creative and have fun visualizing your ideal setup.
4 // Choose your storage and carrying system.
Bag. Basket. Box. Bin. It could even be a bucket.
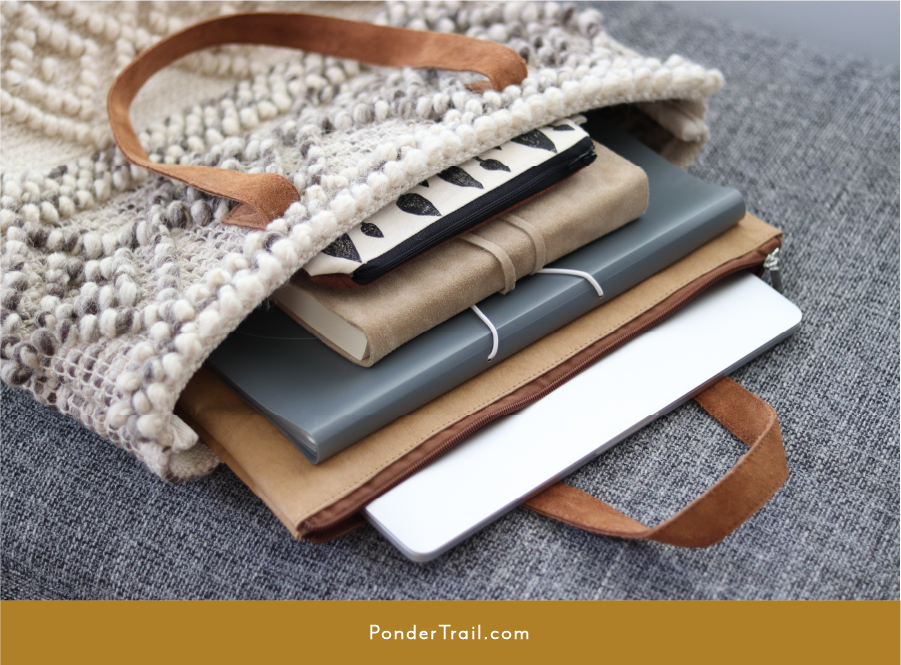
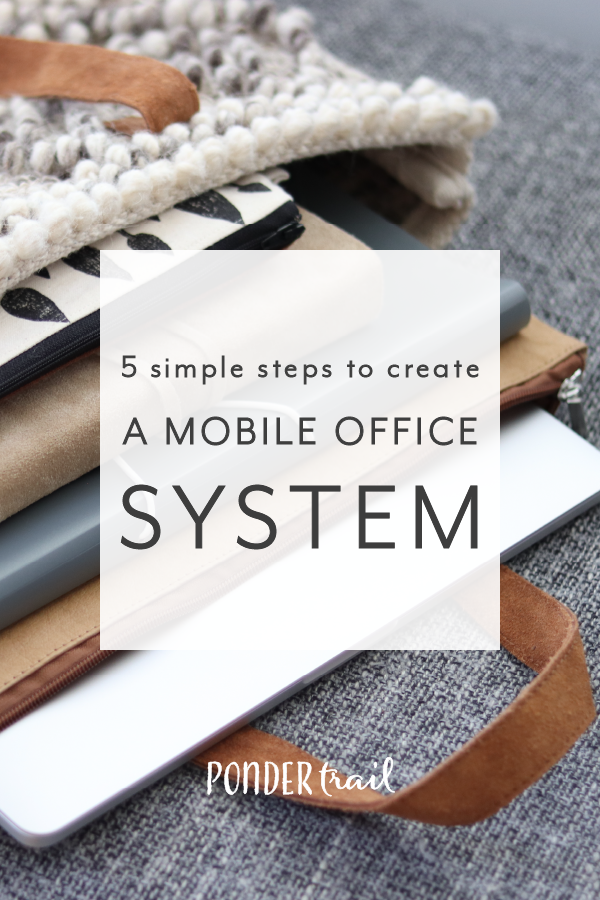
When I pack up to leave the house for a productive work session, I use an oversized bag. It has enough room to fit my laptop case, notebooks, charger, and my phone. I can also put a binder and calendar in there when I’m doing planning-related tasks.

I also have a few different smaller bags and pouches that fit my camera battery charger, webcam, hard drive, and a few extra cords. I store those items in the zip pouches and only add them to my big bag when necessary.
If I’m staying home to work all day, I pack my items into a basket tray so it’s easy to carry in one trip when I move from my office onto the couch.

5 // Try it out, and refine as you go.
The final step is to test out your packable office system to ensure it works.

I suggest you take notes during each work session to jot down any changes or additions you’d like to make with your setup.
You might also find it helpful to create a list of items and different kits for your various work situations.
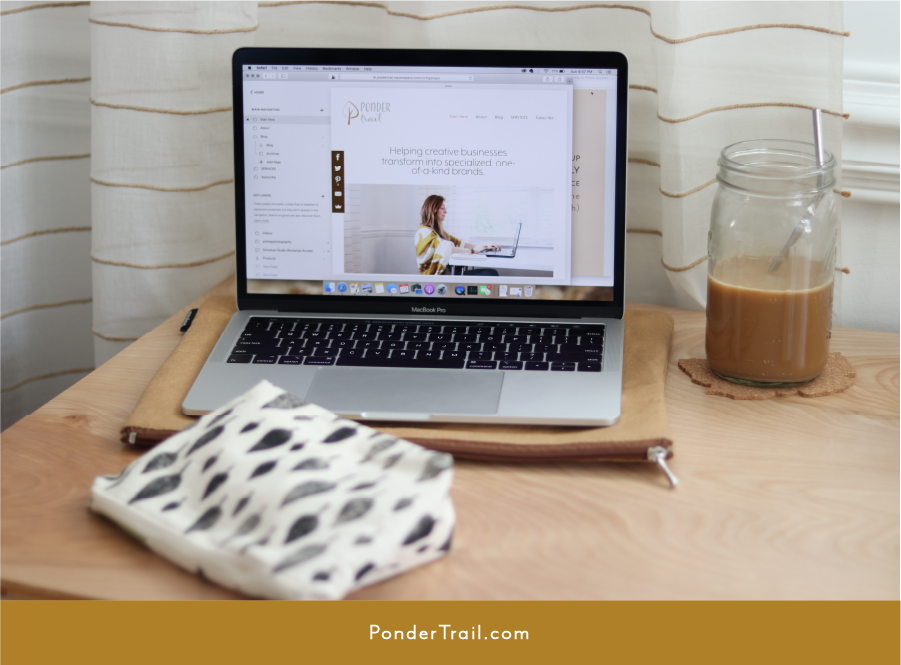
For example, you might only do writing tasks when you work at a coffee shop, and you might only batch-record Instagram story videos when you’re working on the beach. For each scenario, create two different kits with lists of items needed for each work session.
Create different systems depending on where you hunker down and what tasks you perform.

And that’s how I created my mobile office system. I hope you enjoyed today’s tutorial! Have you ever created a portable office kit? What items would you include in your every day business cary? I would love to know!











Do you know what’s the most valuable asset to get you from point A to point X-marks-the-spot where your goals are? An effective and easy-to-execute plan.
A strategic plan is the difference between sitting at your computer with a blank stare trying to figure out what to work on today vs. jumping into action each day to conquer effective to-do’s that make progress.
Most people agree that planning is important. But many people also recognize that planning can be a pitfall. Like with any task or method, there’s often a best and a not-so-great way to do something. And planning is no exception.
When it comes to planning, there are countless ways to get hung up. From not knowing how to create a plan, to staying in a planning stage for too long, to not being able to follow through on a quality plan.
As creative business owners, we have a lot on our plate. New ideas and opportunities seem to flood our notebooks and calendars, overwhelm sometimes knocks on our office doors, and at least a few of last month’s tasks are looking for a place to fit into our busy schedule. In fact, entrepreneurship brings so many hats that we either try to stack them in order of priority or shrink them to wear multiples ones at the same time.
With everything going on, our original dreams and goals can feel out of reach all too often. Like a distant memory, our long-term goals get buried, and our short-term goals feel impossible to work towards.
Thankfully, there’s a solution. And a simple one at that.
It’s called an effective plan. And if you’ve tried planning before with less-than-desired results, I’ve got you covered. This month in the Brand Strategy Treehouse, I’m going to show you how to turn those efforts into an easy-to-follow plan that takes your business places—rather than one that runs you ragged and yields no progress.
With videos, guides, and workbooks to walk you through each step, you’ll come away with a fresh perspective and a new approach to planning.